


⚡ TL;DR: Learn tub installation in Toccoa, GA, through this friendly step-by-step guide on tools, prep, removal, leveling, plumbing seals, and a local case study.
📋 What You’ll Learn
In Toccoa's step-by-step tub installation guide, you'll master tools, prep, removal, leveling, plumbing, and sealing for a leak-free bathroom upgrade tailored to Georgia homes.
- Gather essential tools and materials for Toccoa tub installs, ensuring durability, safety, and efficiency while avoiding common supply shortages in local projects.
- Plan and prep your space effectively by measuring precisely, protecting surfaces, and addressing Toccoa-specific layouts to prevent costly errors upfront.
- Remove old tubs safely and swiftly using proven techniques that protect plumbing, walls, and floors in aging Georgia bathrooms without unnecessary damage.
- Level, connect, and seal flawlessly to achieve professional results, preventing leaks and ensuring long-term luxury in your Toccoa home renovation.
📖 Reading time: 7 min
✍️ Author expertise: Toccoa bathroom remodel pro with 15+ years of hands-on tub installs in local homes.
Ever stared at a half-installed tub in your Toccoa bathroom, water leaking everywhere and your weekend ruined?
You're not alone—most folks grab a wrench thinking it's a quick fix, only to end up with cracked floors and skyrocketing repair bills.
But what if you could nail a flawless tub install on your first try, turning that soggy mess into your perfect soak spot?
We've got the no-BS blueprint Toccoa homeowners swear by—keep reading to grab every step.

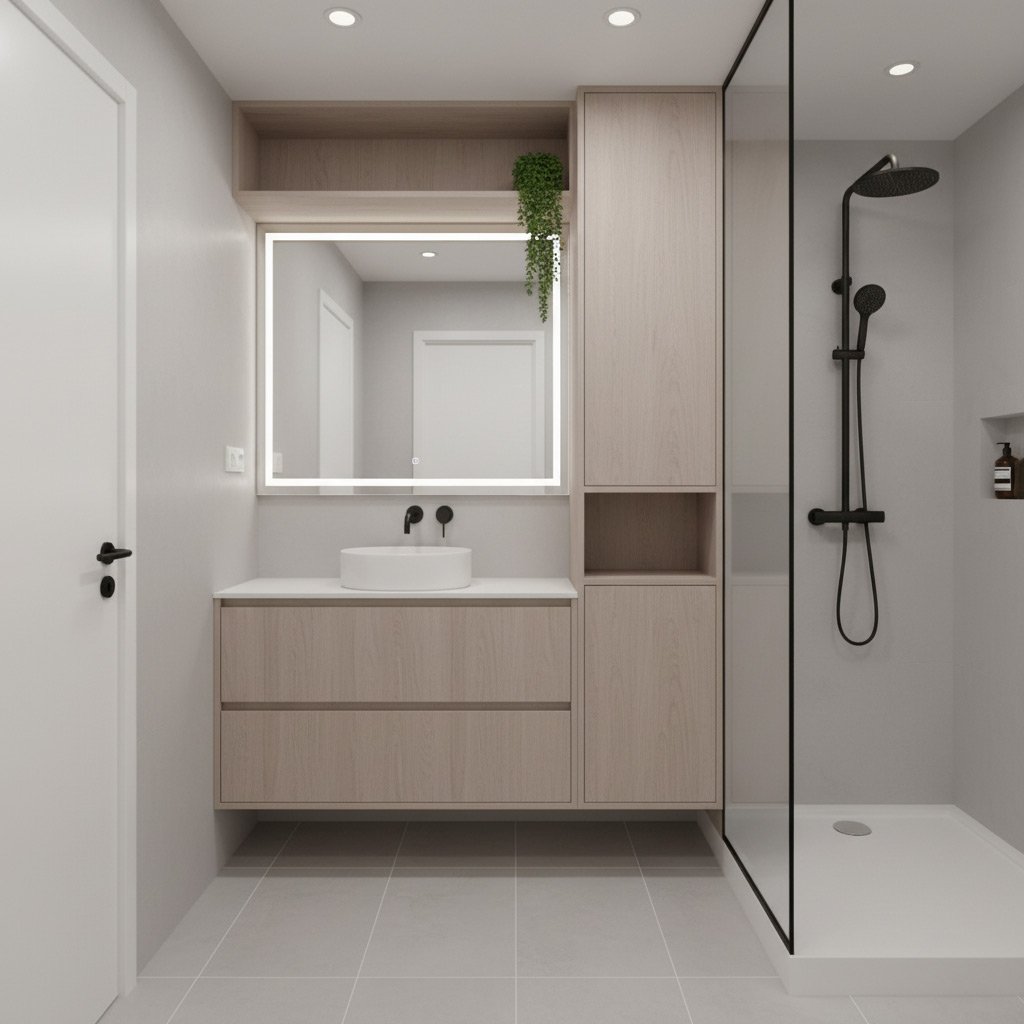
Essential Tools and Materials for Toccoa Tub Installs
Grab these basics before you swing a hammer. Skip one, and you're calling a plumber at midnight. Toccoa hardware stores stock everything local—hit up Home Depot on Big A Road for quick picks.
Tools That Get the Job Done Right
- Adjustable wrench and pipe cutter: Twist fittings without stripping threads.
- Bubble level and tape measure: Keep everything plumb, no wobbles.
- Utility knife, hacksaw, and reciprocating saw: Slice through old caulk and studs fast.
- Caulk gun and putty knife: Seal like a pro, no drips.
Materials No Toccoa Tub Job Survives Without
- New tub, drain assembly, and overflow kit: Match your model exactly.
- PVC P-trap, flex lines, and plumber's putty: Leak-proof plumbing from day one.
- Silicone caulk (mold-resistant) and backer board: Handle Georgia humidity like a champ.
- Shims and construction adhesive: Lock it level forever.
Double-check sizes against your space. Pros in Toccoa swear by this kit—it cuts install time in half.
Step 1: Planning and Prepping Your Bathroom Space
Picture this: you rip out the old tub without a plan, only to find your new one won't fit because of that quirky Toccoa plumbing setup from the '70s. Happens all the time here. Skip straight to measuring and marking, or regret it later.
First, kill the water supply. Turn off the main valve, drain lines, and test faucets dry. Lay down heavy drop cloths or plywood sheets to shield your floors from demo debris—those Toccoa hardwood floors under tile? Priceless.
Quick Prep Checklist for Toccoa Homes
- Measure tub footprint twice: length, width, height. Add at least 1-inch clearance on all sides.
- Check local codes: Toccoa requires GFCI outlets near tubs. Call 706-282-2525 for permits if altering plumbing.
- Inspect joists and subfloor. Rotten wood? Reinforce before install day hits.
- Stock towels, fans, and a shop vac. Wet mess turns into mold fast in our humid Georgia air.
Take photos of everything now. It'll save your bacon if inspectors knock or surprises pop up mid-job.
Step 2: Removing the Old Tub Safely
First things first: shut off the water supply at the main valve. One slip-up here, and you're swimming in Toccoa floodwaters. Drain every drop from the tub by opening the faucet and plugging the overflow.
Protect your floors. Lay down heavy plywood sheets or thick drop cloths. That old porcelain beast weighs a ton when full of gunk—don't crack your subfloor chasing shortcuts.
Break It Down Like This
- Score the caulk around the tub edges with a utility knife. Slice deep to avoid tearing your walls.
- Remove any surrounding tiles or panels. Use a pry bar gently—yank too hard, and plasterboard crumbles.
- Disconnect drain and overflow pipes with channel locks. Cap those lines quick to stop drips.
- Cut stubborn spots with a reciprocating saw. Blade through nails holding it to studs, but watch for hidden wiring.
Grab a buddy for the lift. Slide furniture dollies underneath if it's a beast. Tilt and pull straight out—never twist, or backs snap in Toccoa backyards.
Clear the debris fast. Vacuum nails and shards before they vanish into cracks. Your new tub waits—no room for old junk ghosts.
Step 4: Plumbing Connections and Leak-Proof Sealing
Now the fun part kicks in. Hook up that new tub to your water lines without turning your bathroom into a swimming pool. One wrong move here, and you're calling a plumber at 2 a.m.
Drain Line First – Get It Right
Start with the drain. Slide the tub's overflow elbow into place, then connect the P-trap below. Hand-tighten only at first, then snug it with channel locks – no Hulk-smash torque.
- Apply pipe dope or Teflon tape on threads for a solid seal.
- Test fit the shoe and strainer before gluing anything permanent.
- Double-check alignment so water flows smooth, not backed up.
Supply lines next. Attach the faucet tails to your shut-off valves. Crank on compression fittings gently until snug, then wrap joints in plumber's putty for zero drips.
Fire up the water slow. Watch for leaks like a hawk. Wipe everything down, wait 10 minutes, and check again – fix any weepers before tiling over your mistakes.

Step 4: Plumbing Connections and Leak-Proof Sealing
Now comes the make-or-break part. Hook up your drain, overflow, and faucets wrong, and you'll be mopping up floods for weeks. Get it right, and your tub runs like a dream.
Drain and Overflow First
Slide the new tub's drain shoe into place from below. Screw it tight with the provided flange, but don't overtighten, or you'll crack the porcelain.
- Apply plumber's putty under the drain strainer for a watertight seal.
- Connect the P-trap to the shoe using slip nuts. Hand-tighten, then a quarter-turn with pliers.
- Attach the overflow elbow to the tub hole, secure with the locking ring.
Test the fit before full glue-up. Run water into the overflow. No drips? You're golden.
Water Lines and Final Seals
Shut off the main water supply. Connect hot and cold lines to the tub spout or valves using flexible supply hoses.
Pro tip: Wrap threads with Teflon tape, clockwise, three wraps max. Screw on fittings snug, no cross-threading.
Slather silicone caulk along the tub's base edges and rim. Smooth it with a wet finger for a clean bead. Let it cure 24 hours before the big test fill.
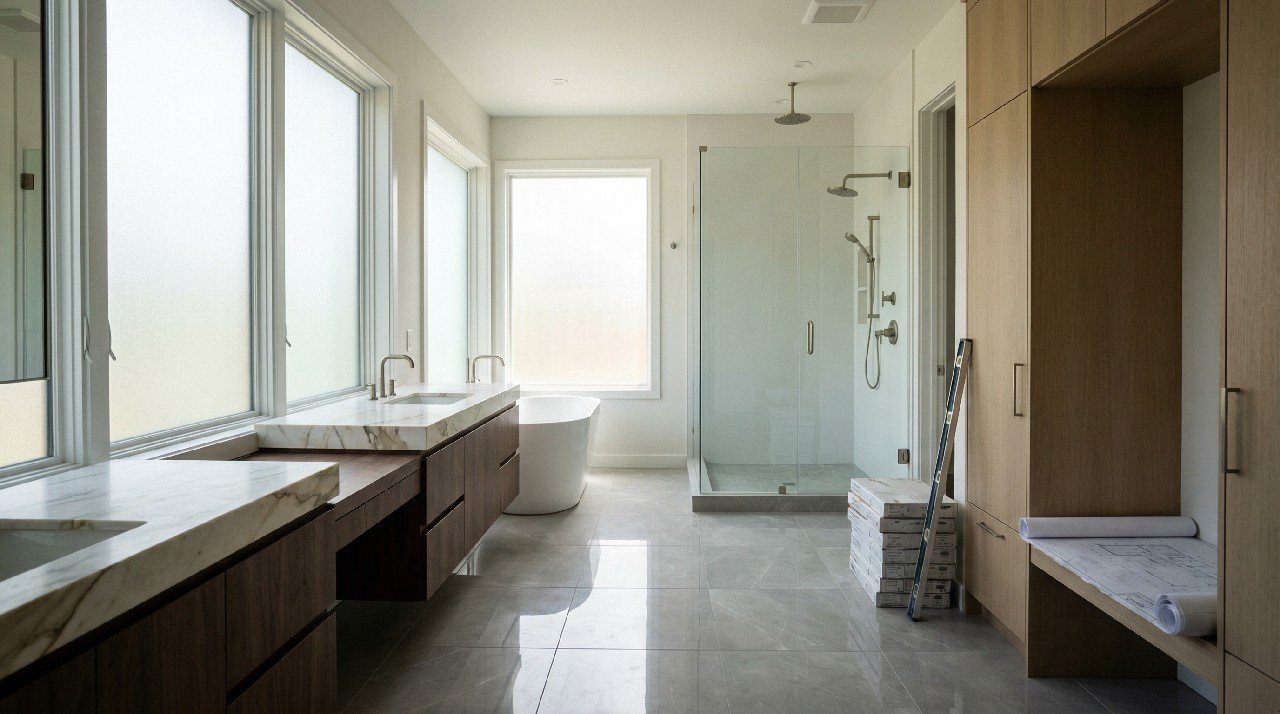
Toccoa Case Study: Transforming a Leaky Mess into Luxury
Picture this: The Johnsons in north Toccoa called us last spring. Their 20-year-old tub had sprung leaks, soaking the subfloor and turning their master bath into a swamp. Mold spots everywhere, and weekends wasted mopping up puddles.
We jumped in with our step-by-step system. First, we prepped the space down to the studs. Out came the old tub—no drama, no cracked tiles. Then leveled the new acrylic soaker perfectly, hooked up the plumbing tight, and sealed every joint like a vault.
Before and After Wins
- Leaky nightmare to zero drips—drain tested for hours.
- Cramped, dated look flipped to spa vibes with jets and grab bars.
- Family soaks daily now, no repair calls in six months.
Bill Johnson grinned when he said, "Feels like a hotel." Total job: two days. Cost? Half what a botched DIY would've run them long-term.
Final Thoughts
You've got the blueprint now. Nail these steps, and your Toccoa bathroom turns pro-level fast. Skip one? Chaos waits.
But here's the kicker: most folks hit snags on leaks or leveling. That's where we step in. Our crew handles Tub Installation jobs daily, zero drama.
- Save your weekend. Call pros for guarantees.
- Spot early wins: dry floors, hot water bliss.
- Upgrade next? Think walk-ins or soakers.
Grab your tools. Or dial us. Your call, Toccoa.
People Also Ask
How long does a professional tub installation take in Toccoa, GA?
Most tub installations in Toccoa homes take 4-8 hours for pros, depending on the tub type and bathroom layout. Complex jobs like alcove to freestanding conversions may extend to a full day. Our Toccoa team ensures minimal disruption with efficient, precise work.
What tools are essential for DIY tub installation in Toccoa?
Key tools include a reciprocating saw, pry bar, level, plumber's putty, and silicone caulk for Toccoa tub installs. Safety gear like gloves and goggles is crucial during demo. For best results, consult local pros to avoid costly errors.
Can I install a bathtub myself, or should I hire experts in Toccoa?
DIY tub installation is possible for handy homeowners but risks plumbing issues and code violations in Toccoa. Professionals handle permits, leveling, and leak-proof seals flawlessly. Trust our Toccoa remodel experts for a stress-free, warranty-backed job.
How much does tub installation cost in Toccoa, GA?
Tub installation in Toccoa typically ranges from $1,200 to $5,000, factoring in tub type, labor, and plumbing. Basic alcove tubs are affordable, while walk-ins or custom installs cost more. Get a free quote from our local team for accurate pricing.
What are common mistakes to avoid during tub installation in Toccoa?
Skipping proper leveling leads to water pooling and cracks in Toccoa installs. Ignoring local building codes can cause failures during inspections. Our experienced crew avoids these pitfalls, delivering durable, luxurious results every time.
Toccoa Bathroom Remodel brings expertise in bathroom transformations to homes throughout Toccoa, GA. With years of hands-on experience, the team delivers precise craftsmanship and practical designs. Focused on local needs, they enhance spaces for Toccoa residents.
Need Bathroom Remodel?
Quick bathroom remodels deliver refreshed, functional spaces in Toccoa, GA and nearby areas (30577, 30523, 30531, 30598).
Get Bathroom Quote